These instructions help you configure your 3COM VCX phone system to work with TIM Plus. Contact your system maintainer if you are not familiar with the configuration of your PBX.
Connection Type
Support Files
Required Tasks
Configuring your SMDR output
To retrieve call logging data from your 3COM VCX phone system, you need to set up an SFTP transfer. Below is an example of how to configure this, using WinSCP - a free FTP client software. Any other third-party client software can be used instead.
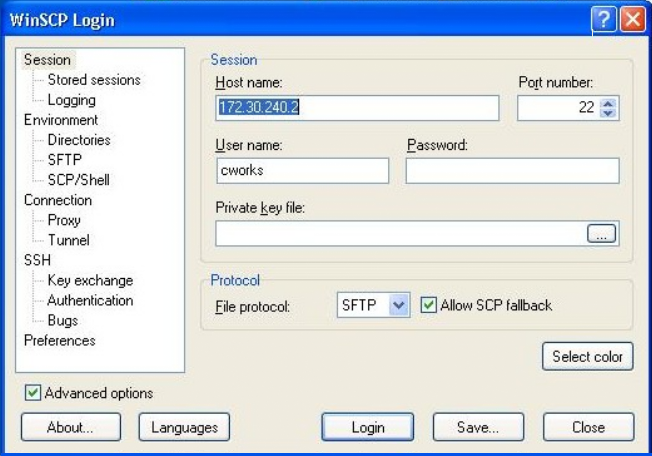
| Field | Description |
|---|---|
| Host name | The IP address or host name of the phone system |
| Port number | The port number for the SFTP transfer. The default port number is 22 |
| User name | The username required to log in to your 3COM VCX phone system |
| Password | The password required to log in to your 3COM VCX phone system |
Once connected to the phone system, you can transfer the CDR files, located by default in opt/3com/VCX/acctxml/db/export, to the PC running TIM Plus.
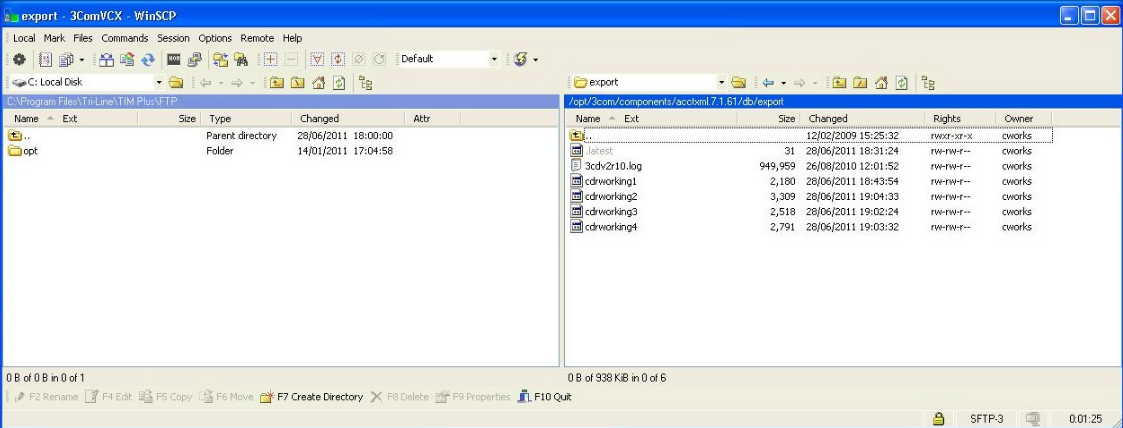
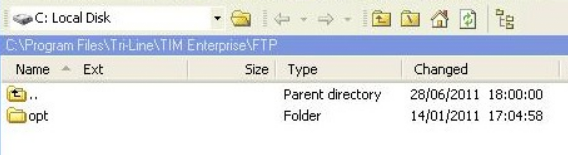
In this example, the XML files are being copied in the following location: C:\Program Files\Tri-Line\TIM Enterprise\FTP, given the FTP folder has been created in advance for this purpose.
Creating a batch file
To enable TIM Plus to collect and process the XML files, you need to create a batch file containing the following lines:
In the above example, the {sitecode} needs to be replaced with the unique ID of the site object you are trying to send the data to. To obtain the ID of a site, hover the mouse pointer over it on the screen in TIM Plus and it will be displayed as a tooltip. |
The batch file will change the .xml file extension to the designated site code and move the files in the Spool folder for processing.
A Windows scheduled task must be set up as well in order to run the batch file every 5 minutes or so.
Configuring TIM Plus
Once the batch file has been configured, log in to TIM Plus and perform the steps below:
- Click on the tab.
- Choose the site you want to configure and click .
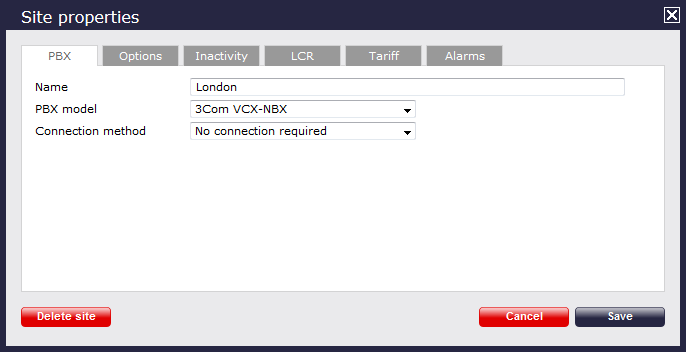
- In the Site Properties window, select 3Com VCX-NBX from the PBX model drop-down list.
- In the Connection method field, select No connection required from the drop-down list.
- Click on the button to apply the settings.