These step-by-step instructions will guide you through the process of configuring your 3CX phone system to seamlessly work with TIM Plus using our CXD connection.
When using CXD, you can skip setting up or configuring the SMDR output on the 3CX phone system. CXD functions independently and relies on live events to provide all the necessary information for its operation, resulting in enhanced call logs.
This is beneficial as it overcomes the limitations on data output found in the native CDR when using the standard Active or Listening connection methods.
Installing CXD
To access CXD, you will need to download it from our Gateway site. Please note that there are two installation options available: one for Windows and another for Linux. The correct installation will depend on whether it is to be installed on a local server or 3CX. At present, you will need Linux on the 3CX Server.
At the conclusion of the installation, you will encounter a final wizard that will prompt you to provide the following information:
- IP address of the 3CX phone system
- Primary/route account username (SSH access)
- Password for Primary account
Configuring TIM
- To add a site, click on the 'Directory' tab.
- Select PBX
- Select '3CX Events' from the PBX drop-down list.
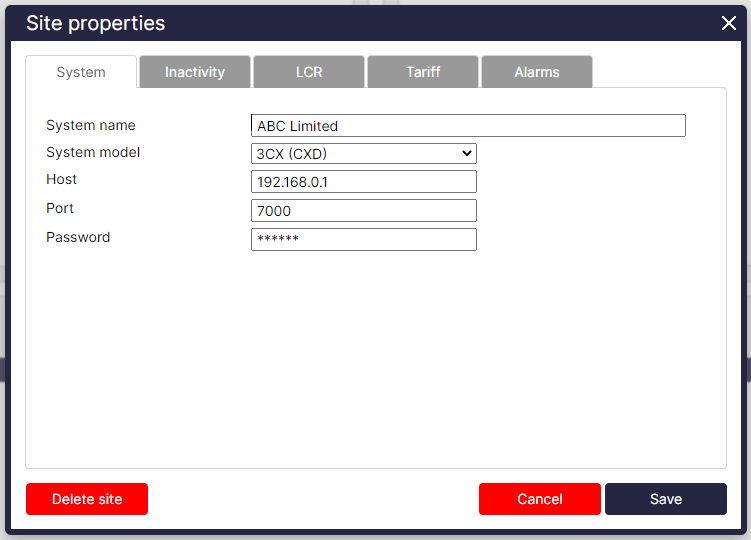
- Select 'CXD' as the connection method.
- Fill in the host, port and password details as shown below;